Comprehensive Guide to Growing Microgreens lichen
Comprehensive Guide to Growing Microgreens in lichen Rockwool; A Step-by-Step Guide to Microgreen Cultivation
Complete Guide to
Microgreens are young plants harvested at an early growth stage and are known for their high nutritional value, including vitamins, minerals, and antioxidants. Today, microgreens are widely used in healthy diets, restaurants, and indoor farming systems.
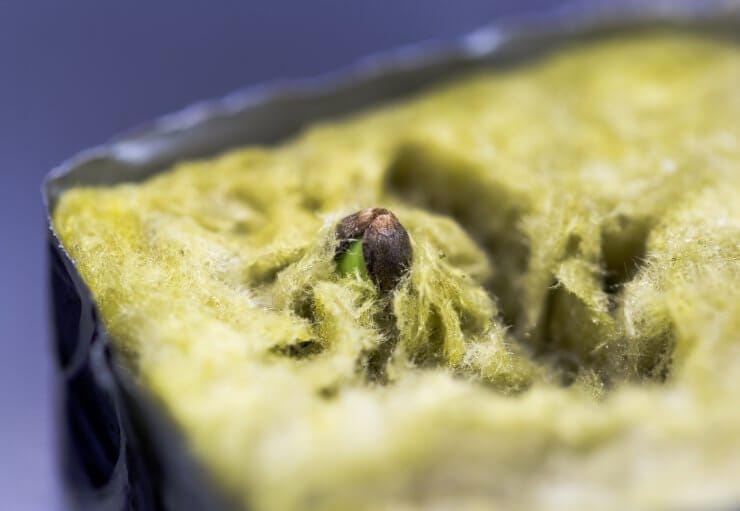
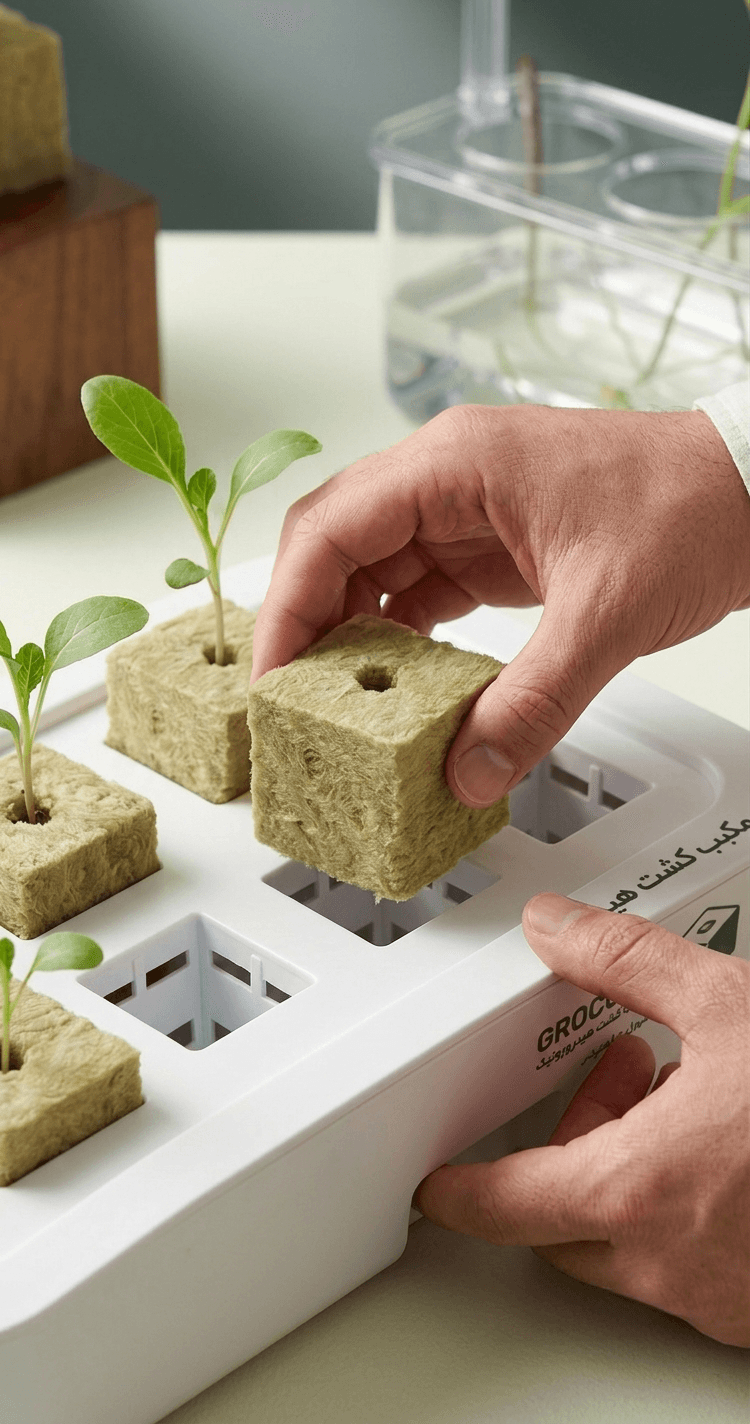
One of the most effective methods for growing microgreens is using Rockwool (stone wool) growing media. Rockwool provides excellent moisture retention, proper aeration, and easy control of growing conditions, making it an ideal substrate for fast and healthy microgreen production.
In this guide, we will explain the complete process of growing microgreens in Rockwool, from preparing the nutrient solution to harvesting your fresh crop.
Equipment Needed for Growing Microgreens in Rockwool
Before starting, prepare the following items:
- High-quality microgreen seeds (such as radish, broccoli, cabbage, sunflower, and others)
- Rockwool growing mats or cubes
- Growing tray
- Clean water and nutrient solution
- Spray bottle
- Dark cover for the germination stage
- Suitable lighting system
Step-by-Step Process of Growing Microgreens in Rockwool
Step 1: Preparing the Nutrient Solution
First, prepare the solution needed to hydrate the Rockwool.
- Add 3 drops of the recommended nutrient solution into 1.5 liters of water.
- Mix thoroughly until the solution is completely uniform.
Using clean water and a balanced nutrient solution helps improve germination, plant health, and final crop quality.
Step 2: Soaking the Rockwool
The Rockwool must be properly hydrated before planting.
Follow these steps:
- Place the Rockwool inside the prepared nutrient solution.
- Let it soak for approximately 20 to 35 minutes.
- This allows the Rockwool fibers to absorb enough moisture for successful seed germination.
After soaking, the Rockwool is ready to be placed in the growing tray.
Step 3: Removing Excess Water from Rockwool
After soaking:
- Gently press the Rockwool to remove extra water.
- Make sure the growing medium remains moist but is not completely saturated.
Maintaining the correct moisture level is one of the most important factors for successful microgreen cultivation.
Step 4: Sowing Microgreen Seeds
Now it is time to plant the seeds.
- Spread the seeds evenly across the surface of the Rockwool.
- Avoid placing seeds too deeply into the growing medium.
- Make sure the surface is covered evenly without overcrowding.
Uniform seed distribution helps create a healthy, dense, and consistent microgreen crop.
Step 5: Germination Period (Dark Stage)
After sowing:
- Cover the tray with a suitable lid or dark cover.
- Keep it in a dark environment for around 2 to 3 days.
- This encourages faster and more successful germination.
During this stage, regularly check the moisture level and prevent the Rockwool from drying out.
Step 6: Moving Microgreens Into Light
Once the seeds have germinated:
- Remove the cover.
- Place the tray under suitable grow lights or natural light.
- Provide enough light to encourage strong stems and green leaves.
The ideal growing temperature for most microgreens is approximately 18–24°C (64–75°F).
Step 7: Harvesting Microgreens
Microgreens are usually ready to harvest when:
- The first true leaves begin developing.
- Plants reach a suitable height.
- Leaves have a fresh green color and healthy appearance.
For harvesting:
- Use clean scissors or a sharp knife.
- Cut the microgreens just above the Rockwool surface.
- Consume fresh or package them for storage.
Preparing Rockwool for the Next Growing Cycle
After harvesting:
- Remove remaining roots and plant material.
- Clean the growing area.
- Prepare a fresh Rockwool surface for the next crop.
Proper hygiene helps maintain successful and consistent growing cycles.
Important Tips for Successful Microgreen Production
Use Quality Water
Clean and suitable water improves plant growth and reduces cultivation problems.
Maintain Proper Temperature
Keeping the right temperature helps plants grow faster and reduces the risk of fungal issues.
Provide Enough Light
Proper lighting improves color, plant strength, and overall crop quality.
Ensure Good Air Circulation
Ventilation prevents excessive humidity and helps avoid mold growth.
Harvest at the Right Time
Harvesting at the correct stage ensures better flavor, freshness, and nutritional value.
Benefits of Growing Microgreens in Rockwool
Growing microgreens with Rockwool offers several advantages:
- Faster and more consistent growth
- Excellent moisture control
- Suitable for home and commercial farming
- Cleaner production compared to soil-based methods
- Easy harvesting process
- Ideal for hydroponic growing systems
Conclusion
Growing microgreens in Rockwool is a clean, efficient, and practical method for producing fresh and nutritious greens. By following the correct steps, including Rockwool preparation, proper seeding, moisture control, lighting, and harvesting, you can achieve a high-quality microgreen crop in a short period of time.
Whether you are interested in home microgreen gardening, commercial production, or hydroponic farming, Rockwool provides an excellent foundation for successful cultivation.
SEO Title:
How to Grow Microgreens in Rockwool | Complete Step-by-Step Guide
Meta Description:
Learn how to grow microgreens in Rockwool with this complete guide. Follow step-by-step instructions for soaking, seeding, germination, lighting, and harvesting healthy microgreens.
Suggested SEO Keywords:
- Growing microgreens in Rockwool
- Microgreen cultivation guide
- How to grow microgreens at home
- Rockwool for microgreens
- Hydroponic microgreen growing
- Microgreen farming
- Rockwool growing medium
- Commercial microgreen production